A First Timer’s Survival Guide to Self-Guided Bike Tours in Europe
We enjoyed a one week self-guided bike trip from Bruges to Amsterdam through the towns and countryside of Belgium and The Netherlands.
It was our first biking tour, and we really enjoyed the balance of pre-arranged logistics with the flexibility and autonomy to take each day at our own pace. You can read more about the trip and check out the photos in this blog post.
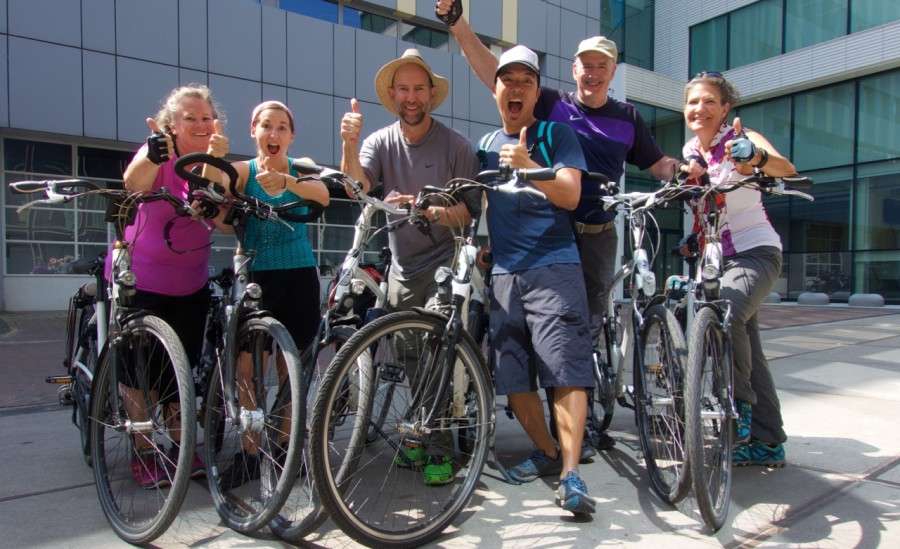
As newbies to the self-guided cycling tour world, traveling with two couples (my parents and my aunt and uncle) who had done self-guided tours before, we learned as we went.
We thought other first time travelers would benefit from our lessons learned, so here are a few tips we picked up along the way.
Updated: 2024. Originally published: August 2015.
Tips to Self-Guided Bike Tours in Europe
Expect hiccups.
You’re in a new country, the language is foreign, you don’t know your way around, you’re at the whim of climate, construction, missing signs, GPS batteries failing, etc.
You’re going to make last minute decisions without all the necessary information and then be able to roll with the consequences.
As the cliche goes, it’s not so much about the destination but the journey, with an extensive problem-solving process included.
Do your homework.
As much as you need to be flexible and go with the flow, planning really does help, too. Look at the map ahead of time each day.
Familiarize yourself with the road signs (a blue circle with a bike and a diagonal red line through it does not mean bikes are prohibited!).
Know some basic bike skills, especially how to fix a flat. We learned how to put water in the tube to find the source of the flat so you can then patch it up. Learn how to take off the wheel, fix a chain, and make adjustments to the seat and handlebars.
Enjoy yourself.
This post covers a lot of the nitty-gritty practicalities, but don’t forget why you’re on the trip in the first place. Plan to stop and take breaks. Enjoy the sights, take photos, and give yourself a chance to rest your legs.
Lessons We Learned the Hard Way
1. Navigating on a Bike Tour
 Dutch Bike Tours provided us with four different methods of navigation:
– Number cards (see explanation below)
– Print out directions
– Regional bike map
– GPS
At first I thought this was over-kill, but each system seemed to work better at different points in the journey.
About the number system in Belgium and Holland: The network of bike routes in these countries can be navigated by going from one intersection to the next, and each intersection has a number.
Signs posted at each intersection will tell you which number you’re at and which way to go to reach other numbered intersections nearby.
Using the intersection numbers method was relatively effective once we knew what to look for. There were a couple instances, however, when we reached one intersection and saw no signs for the number that was supposed to follow.
There were also a few time where the intersection sign was missing or we just never found it.
Early on, we were mistaking some of the signs – thinking we had arrived at intersection #4 (for example) and looking for the next number on our list, when in reality, the sign was directing us onward toward #4.
The critical difference is that an arrow next to the number indicates that you’re not yet there- pretty straight forward.
Ironically, when the numbers system was working well, the GPS were often telling us to go a different way.
Trying to use these two systems at once is not a good idea since the GPS is primarily concerned with your final destination, whereas the numbered signs are taking you on a specific route.
I recommend using the numbers system first along with the printed directions. Then, when you don’t have enough information from the road signs or you’re doubting the path, consult the printed map and the GPS.
Another hiccup we had early on was not realizing that the number sequence on our card was slightly different than our printed directions for the day.
It turned out that there were two route options for that particular leg of the journey, which had us very confused when we came across the discrepancy mid-route.
From then on, we made sure to check our number card against the printed directions so that everyone would be on the same page.
2. Money on a Self-Guided Bike Trip
We learned quickly that surprisingly few places accept credit cards, even those that have the required chip and travel notification. In Belgium, we were able to use our cards at the supermarket and about half of the restaurants.
Otherwise, it was cash only. In Holland, we found that even the supermarkets wouldn’t accept credit cards (only ATM/debit cards from MasterCard, not Visa). We used credit whenever we could (to rack up miles, of course!) and then used our no-fee Fidelity ATM card to withdraw euros as needed.
3. Meals during a Self-Guided Bike Tour
To save money along the way, pick up food at a supermarket when it’s available.
We had a few great picnics with pre-packaged salads, baguettes, sliced meat, sliced cheese, grapes, apples, strawberries, and chocolate. (Be sure to pack utensils you might need.)
Usually you can look ahead on the printed map for the day and see where there will be towns along your route.
Sometimes you’ll pass through a place with a supermarket before you’re ready to eat, but that’s a good time to make use of your pannier until you find a nice picnic spot down the road.
We also think it’s wise to research the hotel you’re heading to and whether it’s in a town or city where other dining options are available.
We didn’t do this and ended up staying in two hotels where the hotel dining room was our only option.
If you’re budget-sensitive, you probably don’t want to get stuck with only one, expensive option.
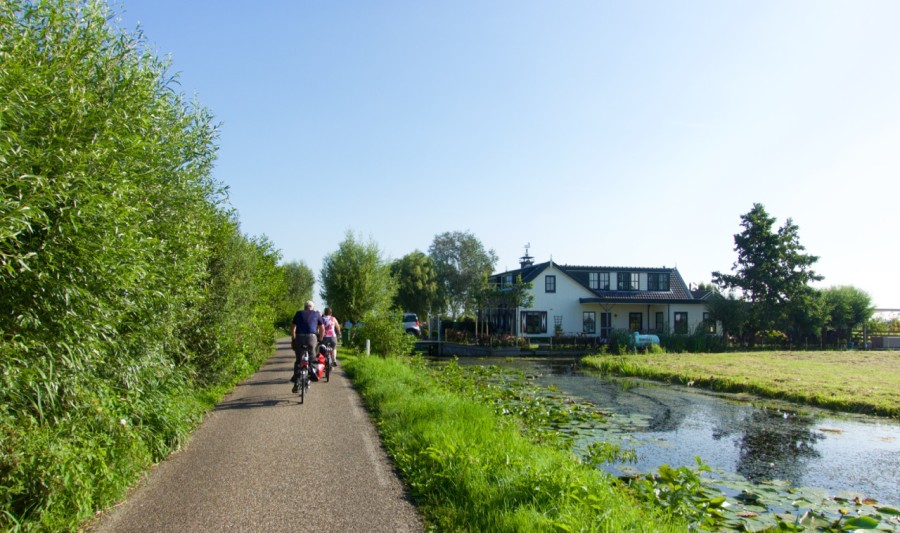
As a newbie to the self-guided bike tour world, it was definitely a great way to see a new region in depth.
We really enjoyed being active every day, covering a lot of ground, being on our own schedule, and having our luggage transported for us.
For flat trips in areas like The Netherlands and Belgium, it’s a very approachable way to travel for people of different ages and abilities.
If you have any questions about this kind of tour or if you have your own advice to share, we’d love to hear from you in the comments below.
Frequently Asked Questions about Self-Guided Bike Tours in Europe
How to choose the right bike tour for you?
Research tour companies. Many different companies offer self-guided tours, so check out their testimonials, the routes they offer, and what’s included in the package.
Look for terrain that suits your fitness level. Beginners should look for flat, easy terrain, while experienced cyclists may enjoy more hills, like in Tuscany, or the varied terrain of the Danube Cycle Path.
Consider Your Interests. If you’re passionate about history and architecture, or you love nature, you can find routes that highlight those things.
Consider logistics and convenience. Not all routes have the same infrastructure for cyclists. Popular self-guided routes should include well-marked paths, easily available accommodations, and luggage transfer services.
You’ll also want to plan how you’ll get to and from the start and end point of the tour.
How to prepare for your self-guided bike tour?
You can never start too early with improving your cycling stamina. If you’ll be doing more cycling on the tour than you’re used to, begin training at least several weeks in advance to build endurance and strength,
Incorporate regular rides into your routine, gradually increasing distance and difficulty
Packing efficiently is key to a smooth bike tour. In our blog post Packing List for a Summer Self-Guided Bike Tour in Europe we share packing tips and a packing list to help you enjoy your cycle tour.
If bringing your own bike:
- Get a professional tune-up before the trip
- Check brakes, gears, tires, and chain for wear or issues
- Learn DIY basic bike maintenance (fixing flats, adjusting brakes)
If renting a bike:
- Check on the types of bikes available (decide if you want electric)
- Find out what equipment is provided (panniers, flat tire kit, GPS unit)
How to maintain health and comfort during your self-guided bike tour?
To avoid common cycling injuries, make sure the bike fits well from the start so you can maintain a good riding posture and ensure your bike is well-maintained.
Stretch before and after rides. Regularly adjust your position to avoid stiffness. Listen to your body, take breaks, and address any discomfort promptly.
Wear moisture-wicking, breathable clothing and layer appropriately to stay comfortable. Consider padded bike shorts and gloves to help prevent soreness. Choose well-fitted cycling shoes for efficient power transfer.
On the Road Tips for Self-Guided Bike Tours in Europe
Stay Hydrated. Carry plenty of water and drink regularly to stay hydrated, especially during long rides and in warm weather. Use a reusable water bottle and refill it whenever possible.
We recommend Tiger sports bottle.
Take Regular Breaks. Plan for regular rest stops to relax, eat snacks, and enjoy the scenery. Short breaks will help you maintain your energy levels and prevent fatigue.
Follow Local Traffic Laws. Familiarize yourself with the cycling rules and regulations in each country you visit. Always obey traffic signals, use bike lanes where available, and signal your intentions to other road users.
Stay Aware of Your Surroundings. Pay attention to road conditions, other cyclists, and vehicles. Stay alert for unexpected obstacles, changes in the route, and navigation signs.
Keep Essentials Accessible. Store essential items like your phone, map, snacks, and a small repair kit in an easily accessible place, such as a handlebar bag or pannier, so you can quickly grab what you need without stopping for long.
Read next:
4 Reasons Why You Should Do A Self-Guided Bike Tour
Packing List for a Summer Self-Guided Bike Tour in Europe
Free Self Guided Walking Tour of Florence Italy: One or Two Day Itinerary
Self Guided Walking Tour Itineraries for 3 Days in Lisbon
Like this post? Pin it for later or share with friends!

Do any of these tour companies allow you to simply rent a bike? I’m interesting in doing exactly what you guys did but at my own pace, finding my own lodging/food, and carrying everything in a backpack. I know buying a used bike in one town and selling it back at my final destination is a possibility, however, I’ve read that the locals know you need to get rid of the bike and will stiff you on the buy-back price. I guess it would still be cheaper than booking everything with a tour company? If I could rent the bike from the tour company in the Netherlands and then return it to the same tour company in Belgium, that would be perfect!
Hi Erica. Thanks for stopping by. That’s a good question, although I don’t know for sure. It seems like the Dutch tour companies should be willing to rent a bike one-way since they already have the system in place. I would contact one or two, like Dutch Bike Tours, directly.
Hi Erica. Did you ever find out if you could just rent a bike only? This is what we are interested in doing. Thank you!